
Custom LED Strip for Channel Letters and Walls
Custom LED strip for channel letters and brand walls: choose voltage, brightness, IP rating, control, and connections before you order cut-to-length strip.
Why "Custom Length" Is the Wrong Question to Start With
Walk into the search results for "custom led strip" and you get retail catalogs, under-cabinet lighting, and DIY wall-art tutorials. None of it helps the person who actually needs a custom LED strip: the sign shop, brand team, or integrator wiring LED channel letters and brand walls.
Channel letters are hollow, three-dimensional letters mounted on a storefront or interior wall. The strip runs inside the letter, behind a translucent face, or along the back edge for a halo effect. Brand walls — the backlit logo panels behind reception desks and in retail interiors — work the same way. In both cases the strip is cut to a specific length, mounted once, and sealed behind a sign face. There is no "take it down and reinstall" option. That is why the ordering conversation usually starts in the wrong place.
Most buyers ask, "How much does custom-length strip cost?" The question that decides whether the sign looks right is not the price per meter. It's the five specs you lock in before the price means anything: voltage and power, brightness and color, IP rating, control, and connections. Get those right and the custom length is a formality — a factory cuts to your letter outline and ships. Get them wrong and you'll reorder, rewire, or re-face the sign.
If you're new to the fixture family, our signage and channel letter lighting guide covers the full fixture selection for storefront lighting. This article is the custom-strip decision layer: the five specs, in the order a sign project should answer them.
Spec #1: Voltage and Power Budget
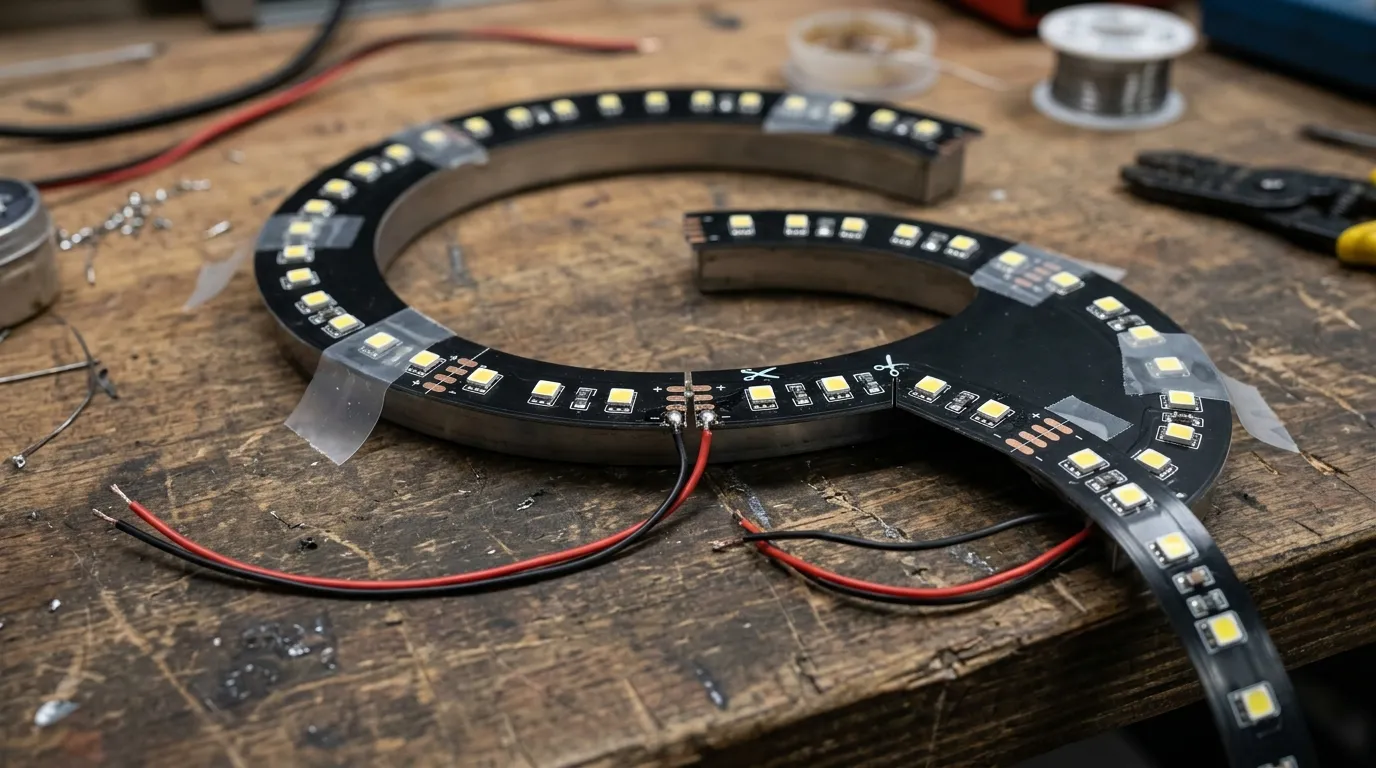
Voltage is the first spec because it decides how long a continuous run can be before the far end dims. Every meter of strip and every meter of cable has resistance. At 12 V, a run past a few meters loses enough voltage that the last letter in a word dims, flickers, or drops pixels while the first letter looks perfect. That's voltage drop, and it's invisible on the bench — you see it only after the sign is assembled.
The fix is either more voltage or more injection points:
- 12 V — the standard for short, dense runs. On a single letter or a small brand wall, 12 V is simple and cheap. Past roughly 5 meters of high-density strip, plan a power injection point or you'll see the fade.
- 24 V — roughly doubles the acceptable segment length for the same wire gauge, because doubling the voltage halves the current for the same power. The common choice for medium walls and letters with long runs.
- 48 V — long-run strip designed to minimize injection entirely. Our DC48V long-run strip runs 90 LEDs per meter at 21.6 W/m over tens of meters with no intermediate injection — the right call for a continuous brand wall that spans a whole lobby.
Power budget is the second number. Every strip has a power-per-meter figure (W/m); the budget is that figure multiplied by total length, plus headroom:
Strip class | Typical draw | What it means for a sign |
|---|---|---|
Single-color / CCT strip, 12 V | ~4–6 W/m | Cheap to run; a standard letter uses a few watts |
COB or high-density white, 24 V | ~14–19 W/m | Bright, dotless surfaces; budget for more PSU capacity |
RGB / RGBW strip, 24 V | ~14–20 W/m | Color signs; same power math, more channels |
48 V long-run strip | ~21.6 W/m | Fewer injection points, bigger total draw |
Carry 20–25% headroom over the calculated draw. Power supplies derate when they run hot inside a sign cabinet, and a PSU sitting at 100% is the first thing to fail on a warranty claim. If your wall runs 60 meters of strip at 15 W/m, that's 900 W of load — with headroom, plan for roughly 1,100 W of PSU capacity, split across multiple supplies rather than one unit at maximum.
Use the LED voltage drop calculator to check your longest run before you finalize the layout. It takes the guesswork out of the question every sign installer learns the hard way: which end of the wall is going to be dim.
Spec #2: Brightness, CCT and Even Color
A channel letter sign fails in one of two visible ways: it's too dim against the street, or the letters don't match each other. Both are spec decisions, made before ordering.
Brightness. Storefront signs compete with daylight and adjacent signage, so the fixture needs real lumen output, not just "bright enough in a dark room." Two numbers matter: lumens per meter (the strip's output) and the sign face's light transmission. A dense strip — 60 LEDs per meter or higher — spreads enough light across the face; sparse 30 LED/m strip shows hot spots and shadows on larger letters.
CCT and matching. Color temperature (CCT) is the white tone: warm white (~2700–3000 K) for cafes and hospitality, neutral (~4000 K) for retail and offices, cool white (~5000 K+) for stadium and industrial signage. Whatever you pick, every letter in the sign must match — a half-degree difference between letters is what customers actually notice. On camera and at night it's worse. This is why batch-level color testing exists: integral-sphere testing verifies color point and lumen output per production batch, so all the letters of a sign come from a controlled batch rather than whatever reel the distributor had in stock.
Even color, not dots. Standard 5050 RGB strip shows visible LED dots through a white sign face — the classic "dotted" look up close. If the letters are viewed from arm's length, spec dotless options:
- COB (chip-on-board) — a continuous luminous strip with no visible individual dots, ideal for tight letters and thin profile signs.
- Diffuser-lens strip — the lens spreads each LED's light for a smoother face.
- Correct sign depth — the strip-to-face distance. More depth means more diffusion and more even light, up to the point where output drops.
The rule of thumb: the closer the viewer gets, the smoother the light must be. A rooftop letter viewed from 50 meters can run standard strip; a lobby brand wall viewed from 2 meters cannot. If you're choosing between strip and neon flex for the face, the same even-light logic applies — neon flex gives a continuous, dotless line with its own mounting constraints.
Spec #3: IP Rating — Indoor Letters vs Outdoor Signs
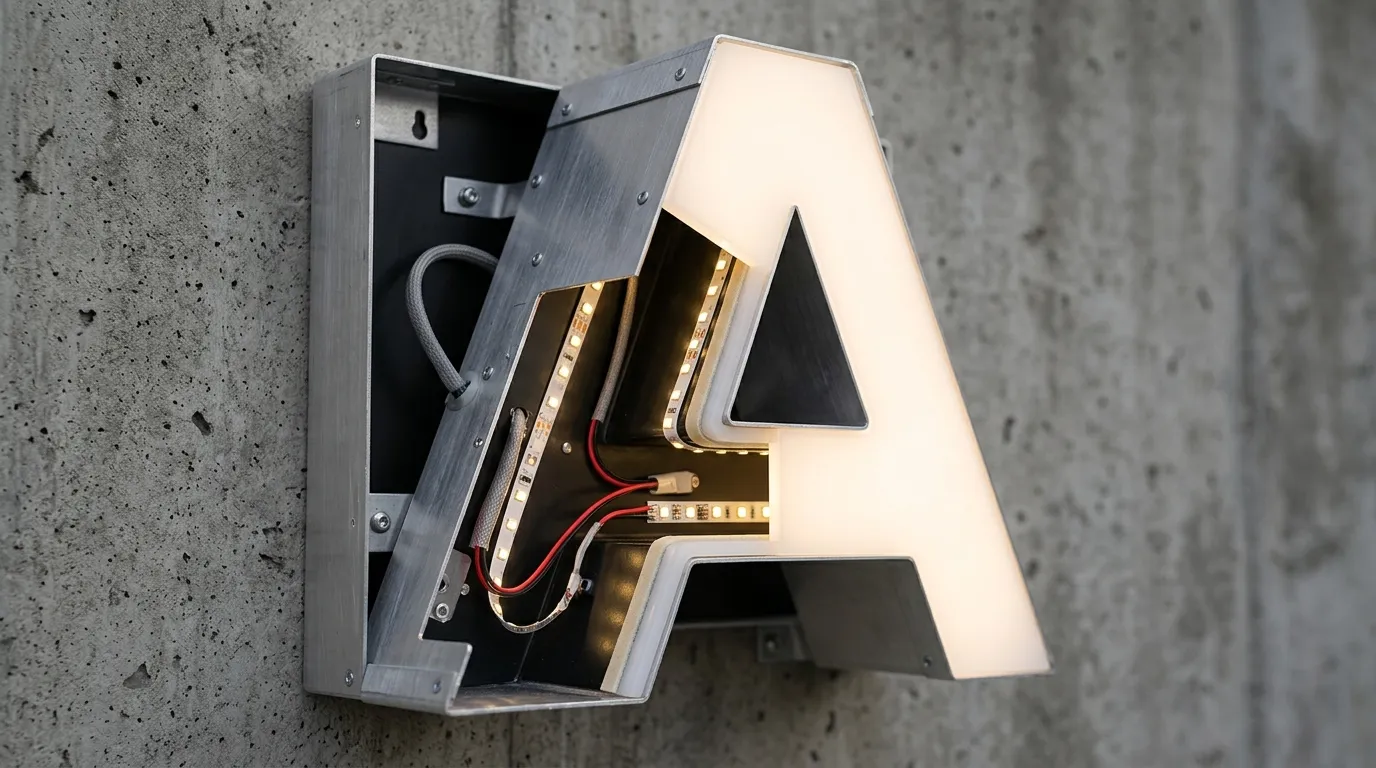
IP ratings — defined by the international IEC 60529 standard — tell you how a fixture survives dust and water. The first digit is solid-particle protection, the second is water protection.
- IP20 — indoor only. Fine inside a lobby brand wall that never sees weather.
- IP65 — dust-tight, protected against water jets. The baseline for outdoor storefront letters that face rain, wind-driven spray, and hosing.
- IP67 / IP68 — protected against immersion. Rarely needed for signs, but the right call for ground-level exterior elements, wet locations, and fascia runs that pool water.
The mistake is ordering indoor strip for an outdoor sign because the quote was cheaper. Outdoor channel letters bake in the sun, freeze, and get pressure-washed. The silicone encapsulation that makes a strip IP65 also protects the solder joints — the part that actually fails. Our LED strip IP rating guide walks through IP20 to IP68 in practical, project-level terms.
One honest note on ratings: a certificate number on a datasheet is only as good as the test that produced it. We run IP/waterproof verification as one of six QC checkpoints on the actual production line, and publish the certificate numbers — CE, RoHS, EMC, IP66, and BIS — for the markets that need them. When you're buying outdoor strip from a factory, ask which tests they ran on your production batch, not just which rating they print.
Spec #4: Control — Static White, RGB or Addressable
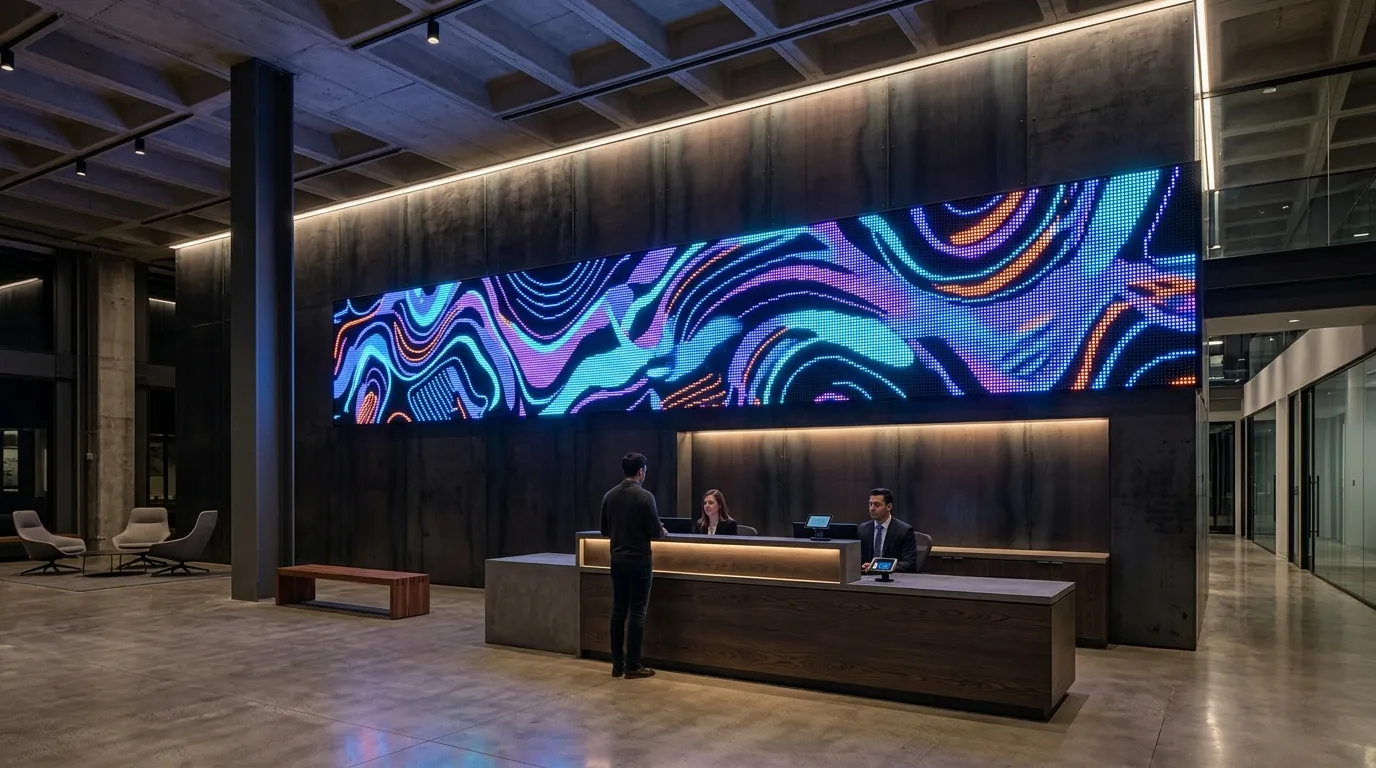
Most channel letter signs are static: one white, one color, on when the store is open. That's a single-color or CCT strip with a simple driver and a photocell or time clock, and it's the cheapest, most reliable option. But the moment a brand wall becomes content — logos that change, animation, messaging that shifts by time of day — the control spec takes over.
Three tiers:
- Static single-color / CCT — one channel, constant color. The default for channel letters.
- RGB / RGBW — color changing across the whole strip as one surface. Great for interior brand walls and holiday-mode storefronts. RGBW adds a true white channel so the sign doesn't wash yellow when it's "white."
- Addressable pixel strip — every LED (or small group) is individually controllable, so the wall can play video-style content, waves, and animated logos. This is the tier where the sign stops being a sign and becomes a display surface.
The control backbone for addressable work is where the engineering lives. DMX512 is the lighting industry standard (maintained as ANSI E1.11 by ESTA), but its 512 channels per universe run out fast once every pixel needs three channels of RGB. For walls with thousands of pixels, Art-Net carries hundreds of DMX universes over standard Ethernet — one network drop into the sign instead of a wall of DMX cable. Software like MADRIX maps the video or media input onto your exact pixel layout: each letter and each panel becomes a region of the output image.
If you're speccing an animated brand wall, decide the protocol at the same time as the strip — you can't retrofit Art-Net into a strip that was built for a simple driver. Addressable LED strip needs compatible controllers and decoders (DMX-to-SPI decoders are the common bridge), so the control chain is a spec, not an afterthought. The pixel controllers category covers this layer end to end — multi-port Art-Net controllers with SD-card playback for offline show files, DMX-to-SPI decoders, and address writers for field setup.
Spec #5: Connections and Mounting
The strip itself is the cheap part of a sign. The connections are where signs fail — and where installers spend the hours.
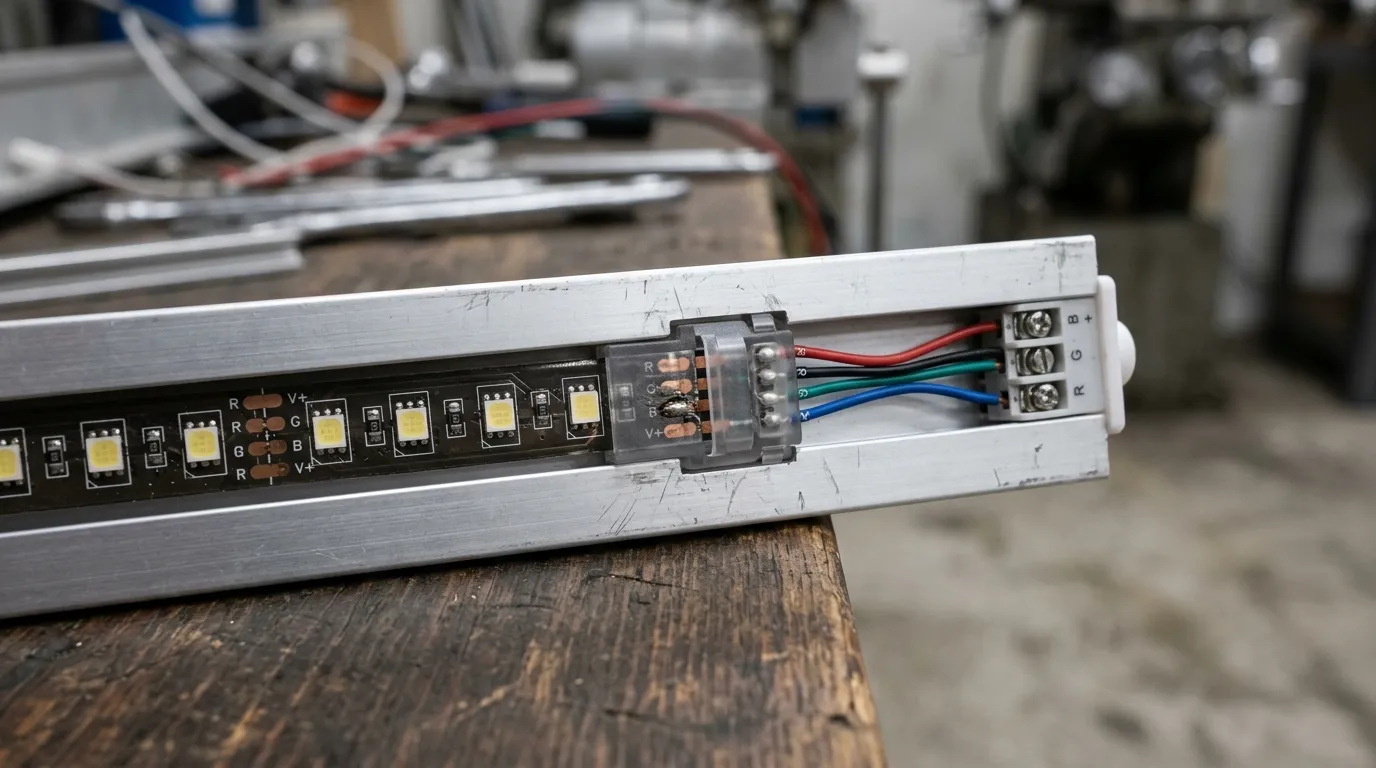
Joining segments. A channel letter is rarely a straight run: letters have corners, returns, and curves. Custom-length strip arrives cut to your letter outline, but corners still need joins. Two options:
- Soldered joins — the classic method: solder the pads, heat-shrink the joint. Reliable, but it takes time per joint and a skilled hand.
- Connectors — clip-on or solderless connectors speed installs dramatically and make field repairs realistic. For pixel strip, keep the data line in mind: a bad connector kills the pixels after it, not just at the joint.
Voltage drop at the joints. Every join is a resistance point. On 12 V runs, long chains of joined segments compound the drop — this is where the Spec #1 math meets the install. On 48 V long-run strip, joins are far more forgiving, which is why large walls favor it.
Mounting. Bare strip with 3M tape is fine for a prototype, not for a permanent sign. In a sign cabinet, strip should sit in an aluminum profile or channel — it conducts heat, holds the strip straight, and gives the adhesive something that won't peel at 40°C behind a sunlit face. For exterior runs, mechanical clips beat adhesive on thermal cycling. Whatever the mount, leave the ends sealed: exposed solder pads at the strip end are the single most common field failure on outdoor signs.
The accessories layer — power supplies, profiles, connectors, and controllers — is where a sign project's real BOM lives. Our pixel strip accessories guide breaks down what each piece is for and how they fit together.
How to Order Custom-Length Strip for a Sign Project
When the brief lands, answer these in order — the earlier ones constrain the later ones:
- Layout and lengths — sketch the letters or wall, mark every run, total the meters, and note the corners and joins. The factory cuts to your outline; you supply the outline.
- Voltage and power — 12 / 24 / 48 V from run length. Total W/m × meters, add 20–25% headroom, split PSUs.
- Density and color — LEDs per meter from viewing distance; CCT from brand; dotless (COB / diffuser) if viewed close.
- IP rating — IP20 indoor, IP65 floor for anything outdoor.
- Control — static, RGB/RGBW, or addressable; DMX512 vs Art-Net decided with the strip, not after.
- Connections and mounting — solder vs connector, profile spec, sealed ends.
- Samples and verification — order a sample segment first, light it, measure it against your spec, and ask for the batch color report.
That last point is the real difference between a custom strip supplier and a strip reseller. A factory that cuts custom lengths will also tell you its QC chain — incoming inspection, AOI during SMT, integral-sphere color testing per batch, aging tests, IP verification, pre-ship function tests — and show certificate numbers. Our case studies document delivered installs at this scale, from 800 m of pixel tube on a commercial plaza facade to 2,600 m of pixel and neon on a US bar facade.
Custom length is not a premium feature; it's the standard way sign projects buy strip. The manufacturer just needs the spec sheet, not the marketing brochure. Low MOQs, OEM/ODM builds, and free samples for qualified projects are the practical signals that a supplier is set up for custom work rather than retail rolls.
Quick Answers: Custom LED Strip for Signs
Can I cut LED strip to length myself? Only at the marked cut points — every strip has designated cut lines every N LEDs (typically every 50–100 mm depending on density). Cutting between them breaks the circuit. For a one-off sign, self-cutting works; for a multi-letter project, factory-cut segments are cleaner and come with pre-terminated leads.
How do I get even backlighting in channel letters? Match three things: enough LED density for the letter size, enough sign depth for the strip-to-face distance, and identical CCT across all letters from the same production batch. Test one letter fully assembled before you build the rest.
What LED strip is best for outdoor signs? IP65 minimum, silicone-encapsulated, with sealed joints and mechanical mounting. If the sign faces direct sun, check the strip's temperature rating and use aluminum profile for heat sinking.
Do channel letters need addressable strip? No — most are static white. Addressable pixel strip pays off only when the sign carries animated content: changing logos, motion, or video-style effects. If you can't name the content, you don't need pixels yet.
RGB or RGBW for a brand wall? RGBW. The extra white channel keeps "white" white instead of a muddy RGB mix — important for a logo wall viewed every day at close range. The tradeoff is slightly higher cost and power.
What to Do Next
Take the project brief and answer the seven lines above: layout, voltage and power, density and color, IP, control, connections, and samples. Fill the sheet in before you compare prices — the supplier who asks you for the spec before quoting is the supplier who's done this before.
At Pileds, custom-length LED strip is standard practice: we cut to your letter outlines, run integral-sphere color testing per batch, and back the order with the same QC chain we use for every product line. Send the spec sheet — we'll send back numbers, a sample segment, and a lead time.
Specifying pixel LED for a real project?
Send the spec — pitch, IC, IP class, run length, voltage — and you get an engineer's answer, not a catalogue. Samples and OEM/ODM quotes from the Shenzhen factory floor.