
LED Strip Light Flickering: Pixel-System Fixes
Most flickering-strip advice stops at the power supply. On addressable pixel systems, read the pattern first: power, data or refresh rate decides the fix.
Choosing pixel LED strip for a real job: RGB vs RGBW vs RGBIC, voltage drop over long runs, binning and colour consistency.
Choose pixel LED strip by the effect, independently controlled pixel density, colour channels, power layout and installation conditions. Metres and LED count are not enough for a usable specification. This guide helps you narrow the requirements before comparing PILEDS models or preparing a quotation request.
For a conventional non-addressable RGB strip, the connected control circuit changes the strip's colour together. An addressable strip divides the installation into independently controlled pixels or groups. The term RGBIC describes an addressable control arrangement; it does not specify voltage, white-channel quality, pixel density or a compatible controller on its own.
Choose RGB or a dedicated-white-channel option from the required visual result, not from a label alone. For white light, also specify the required colour temperature and colour-quality criteria, then ask for model-specific evidence. Start with RGB vs RGBW vs RGBIC for the detailed comparison.
Set viewing distance, diffuser/profile and the required effect resolution before comparing densities. More LED packages per metre need not mean more independently controlled pixels. Confirm the grouping and the permitted cut points on the actual strip.
Specification | What it tells you | What it does not establish |
|---|---|---|
LEDs/m | Physical LED package density | Independently controlled pixels per metre |
Pixels/m | Number of independently controlled units per metre | Number of LED packages in each unit |
ICs/m | Driver arrangement on the specific strip | Pixel count without checking the IC and circuit design |
Cut unit | Where the model can be cut as specified | Permission to cut anywhere or ignore resealing |
RGB/RGBW channel map | Required colour-control channels | Supply voltage, white CCT or controller compatibility |
Use WS2811 vs WS2812B when comparing driver layouts. Carry the confirmed pixels-per-metre figure into controller planning; do not substitute the physical LED count.
Specify the strip's rated supply voltage first. Then record each run's length, model-specific load, cable length, conductor resistance and proposed feed positions. 12 V vs 24 V vs 48 V explains the selection trade-offs; a higher nominal voltage is not a guarantee that a particular length can be powered from one end.
Use the LED voltage drop calculator to estimate cable drop under its stated assumptions. It is not a complete simulation of strip copper, connectors, temperature or every distributed feed arrangement. The voltage-drop guide explains the calculation, while the power-supply sizing guide covers load and operating-condition checks. Use the chosen model's current or power data rather than a universal watts-per-metre assumption.
Record indoor/outdoor exposure, mounting profile, bending direction, joints, access for replacement and any colour-consistency requirement across supplied batches. Ask how cuts, cable entries and connectors affect the finished assembly's environmental protection; do not infer the whole installation's rating from the strip coating alone.
For procurement wording, use the LED colour consistency and binning guide. If a run already looks uneven, the dim-at-the-end diagnostic guide helps separate an observed symptom from a proposed replacement. Do not specify a new strip solely from that symptom.
Compare candidates in the PILEDS LED strip range, then confirm the exact IC, channel order, supply rating, pixel grouping and pinout against the IC and control protocol guide. The controller must support the selected fixture's actual output requirements; an Ethernet protocol name alone does not prove that match.
Use the project RFQ / BOM template to record model candidates, total length and run lengths, pixels/m, colour channels, supply voltage, feed-zone assumptions, environment, controller/software and required accessories. Label unconfirmed details rather than inserting assumed ratings.
Before installation review, use the pre-power-on commissioning checklist to record checks and unresolved items. It is a preparation record, not an electrical safety approval; final wiring, protection and commissioning need review by the responsible qualified person. Ask PILEDS to confirm model-specific specifications and a sample configuration before the final order.
Most flickering-strip advice stops at the power supply. On addressable pixel systems, read the pattern first: power, data or refresh rate decides the fix.
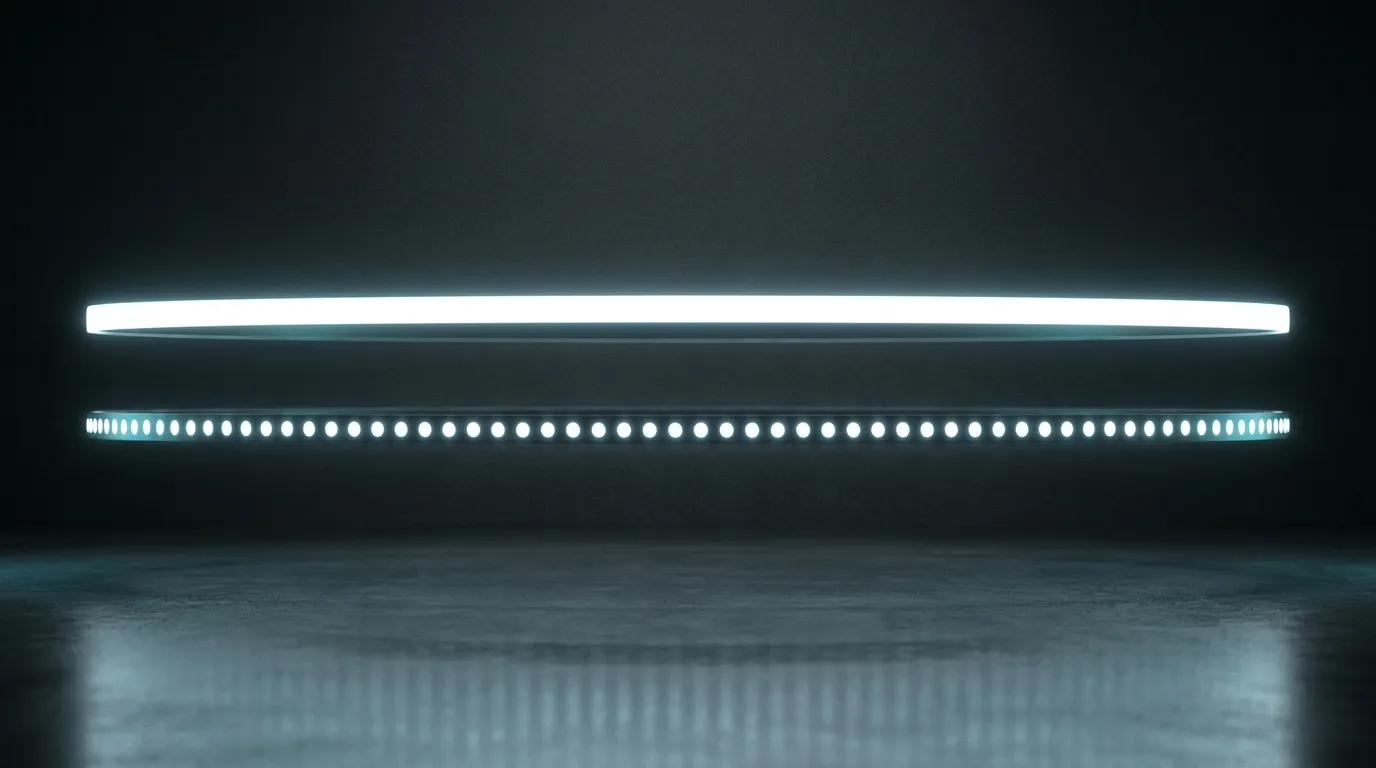
COB hides the dots by removing the gap between emitters; SMD hides them with diffuser depth. What each choice really costs in pixels, cut points and profile.
Binning sorts LED chips by color, flux and voltage. What a pixel-LED buyer should write into a QC spec — per-channel bins, batch identity and test method.
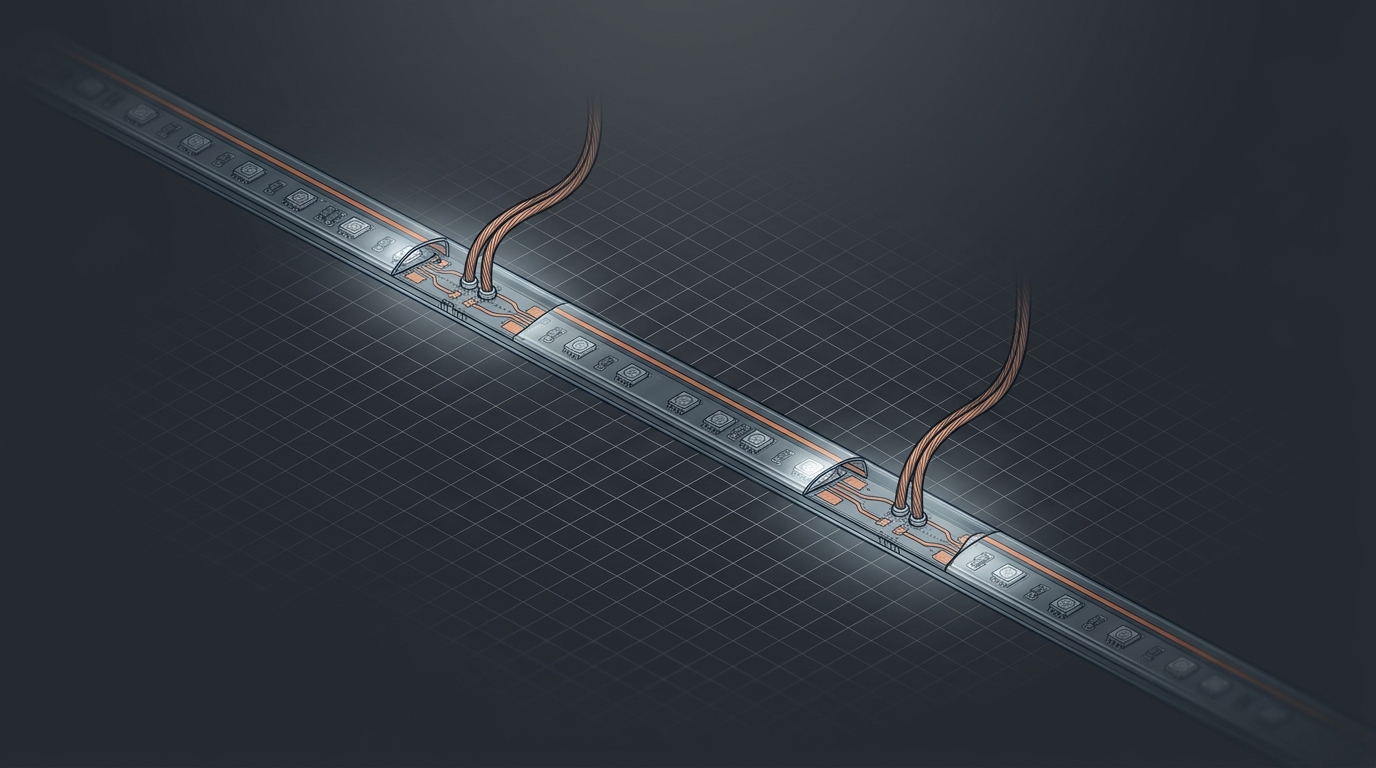
Calculate LED voltage drop on a long pixel strip run: current per meter, wire gauge, injection spacing, and how much voltage sag your pixels tolerate.
12V, 24V, or 48V LED strip? Compare voltage drop, current per meter, and maximum run length, then pick the right LED strip voltage for your long-run project.
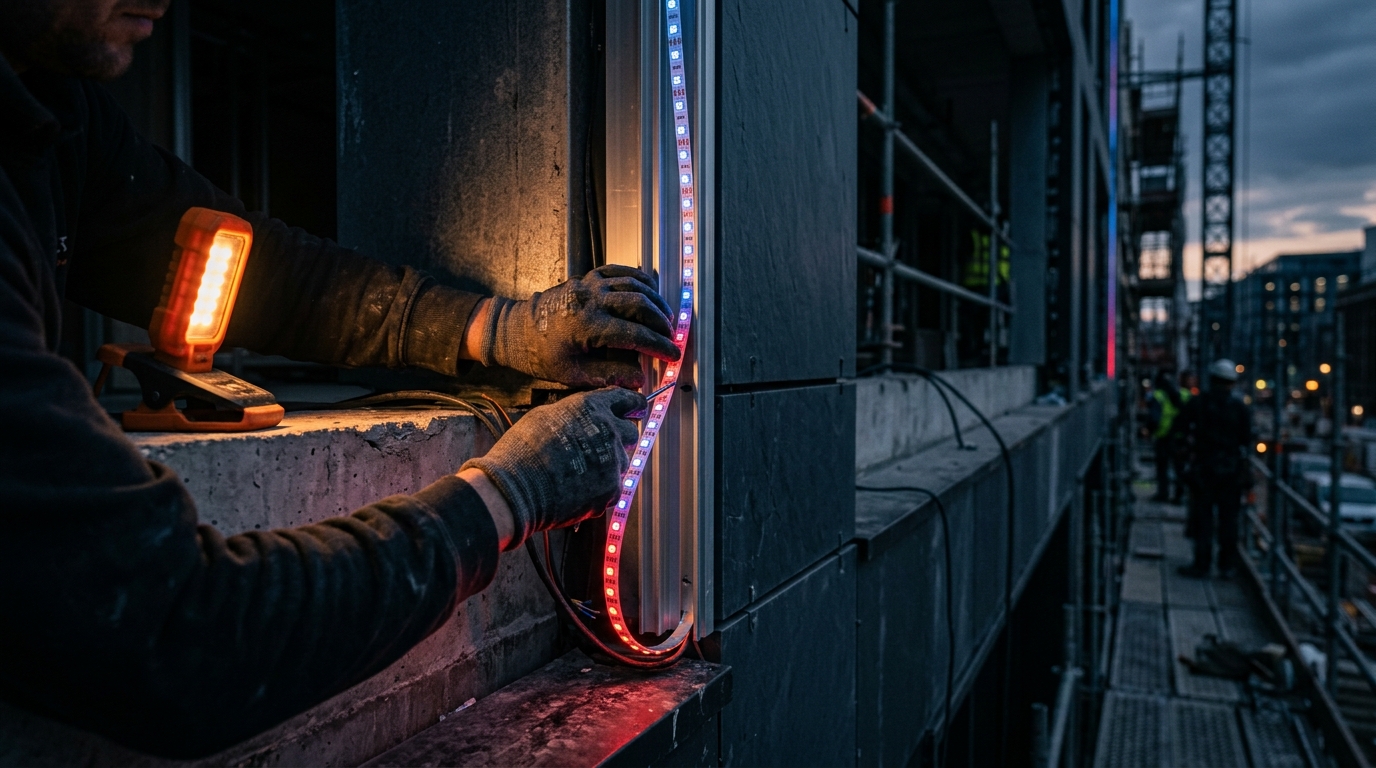
RGB vs RGBW vs RGBIC from a job-site view: color accent, real white light, or addressable pixel effects — with the voltage, signal and IP specs installers need.
Send the spec — pitch, IC, IP class, run length, voltage — and you get an engineer's answer, not a catalogue. Samples and OEM/ODM quotes from the Shenzhen factory floor.