
Waterproof LED Strip IP Rating for Outdoor Use
How an outdoor LED strip's waterproofing is built and kept: potting vs silicone sealing, sealed end caps, mated connectors, and what survives a field repair.
A waterproof LED strip IP rating for outdoor work is not a property of the reel — it is a property of the single assembly that went through the test. Cut it, pot it, add a connector, seal an end on site, and the number restarts from that joint. An outdoor run is only as waterproof as its weakest termination, and the terminations are the parts your installer touches.
This is written from the factory side, and it comes with a disclosure: PILEDS builds pixel strip across the IP20-to-IP68 range, including a sleeve-waterproof range and strip supplied to IP68 — so the constructions below are ones we have a commercial interest in, and the sections on what potting costs you are not shorter than the sections on what it buys. Where a claim comes from a standard or a material datasheet, the source is named. Where it comes from our own production line, it is labelled that way.
Where water actually gets into a strip
Water does not travel through silicone. It arrives at the place where the silicone stops. On an installed outdoor run there are four of those places, and they sit in a chain — the strip body, the cut end, the joint, and the cable entry into the driver enclosure. Every one of them is a link that has to hold, because the run performs at the level of its weakest one.
Link in the chain | What seals it | What breaks it | What an "IP67 strip" often becomes here |
|---|---|---|---|
Strip body (coating, sleeve or encapsulation) | Silicone extrusion, sleeve, or poured compound | Abrasion, UV embrittlement, a bend tighter than the construction allows | Holds its rating |
Cut end | Factory-sealed end, resin cap, or adhesive-lined heat-shrink applied on site | Being left open — the most common failure on the whole run | Effectively unprotected |
Joint or connector | Mated IP-rated connector pair, resin-filled splice | A connector sold as "waterproof" with no mated rating | Splash-resistant at best |
Cable entry and driver enclosure | Cable gland, sealed enclosure, drip loop | A gland left loose, a lid not gasketed, water running down the cable | The enclosure's problem, not the strip's |
The reason this chain framing matters is that the strip-level rating is measured on the strip, and most published ratings are quoted for the strip as it leaves the reel. Under IEC 60529, the ingress protection code describes a tested specimen and a specific test: for the water digit, level 5 is a low-pressure jet, level 6 a powerful jet, level 7 temporary immersion in fresh water (one metre, thirty minutes), and level 8 continuous immersion at a depth and for a duration that the standard explicitly leaves to the manufacturer to declare — the IEC's own explainer spells this out on its IP ratings page. None of those tests is performed on a strip that has been shortened, spliced and terminated by a third party.
Two practical consequences follow, and both show up on real projects.
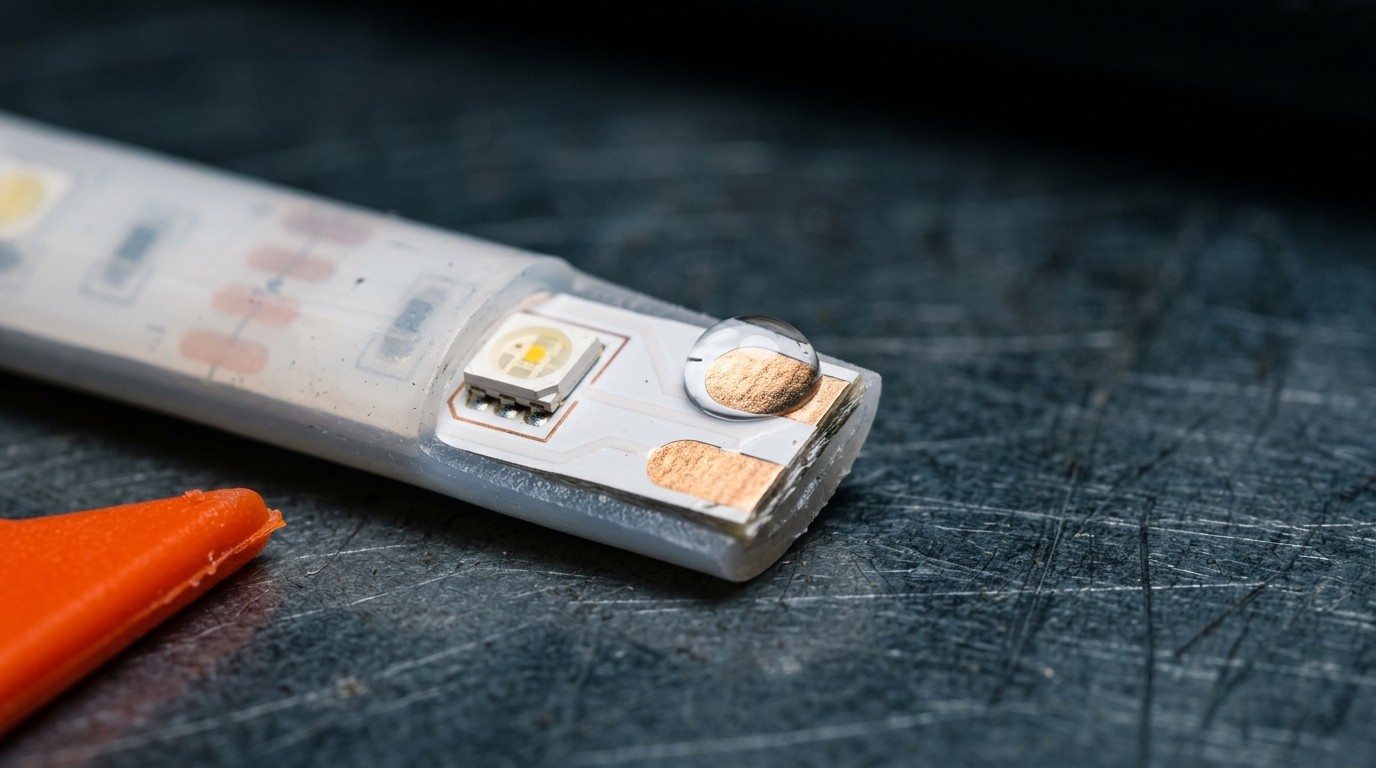
The first is that cutting a strip removes the rating from the cut section. Solder pads on a flexible strip sit on the top surface with the coating cut back; bare copper in a wet location is a short waiting to happen. A strip sold as IP67 and then cut and spliced with bare wire has, at that splice, the protection of an indoor strip — which is close to nothing.
The second is that the rating can belong to a housing rather than to the strip. Mount a strip inside a gasketed aluminium profile and the number that matters in the handover documents is the profile's, and the profile becomes the part your installer has to keep sealed. If you want the full ladder — IP20 through IP68, what each grade survives, and how the grades interact with voltage and mounting — that is the job of our IP rating guide for outdoor pixel LEDs. This page picks up where that one stops: what it takes to keep the rating on an installed run.
Potting and encapsulation: what it seals, and what it costs you
Potting is the heaviest of the sealing methods, and the one that closes both the strip body and the interior in a single operation. A two-part compound is mixed, poured or injected into the channel or the profile, and cured until it becomes part of the assembly. The PCB, the solder joints and the LED bodies end up surrounded rather than merely covered.
The compound you choose decides what the part can do afterwards. These are the three families, with the property that usually decides the choice:
Compound | Where it wins | Where it hurts |
|---|---|---|
Polyurethane (PU) | Flexible encapsulation that tolerates thermal cycling; the standard choice for outdoor LED work | Continuous range −40 °C to +120 °C on the systems sold for LED encapsulation, with a maximum service temperature around 130 °C (short-term, 30 minutes); yellows under UV unless the formulation uses a stabilised isocyanate |
Silicone gel or optically clear silicone resin | Widest temperature window — clear silicone systems reach 200 °C on the same supplier data — and it stays soft | Higher material cost, lower mechanical resistance; needs a housing to protect it from abrasion |
Epoxy | Rigid mechanical protection and dimensional stability | It is rigid. On a flexible strip, thermal cycling eventually works the bond line loose; it is the wrong tool for a bendable run |
The temperature and UV constraints above come from the encapsulation supplier literature rather than from a generic rule: resin systems formulated for LED potting are rated to around 130 °C for polyurethane against 200 °C for clear silicone, and the outdoor-rated PU systems use an aliphatic isocyanate specifically to limit yellowing in sunlight (Electrolube polyurethane potting for LEDs, PDF).
Process matters as much as chemistry, and this is where field-potted repairs usually go wrong. The compound is a two-component system with a mix ratio, a pot life and a cure schedule — and, critically, it has to go in without air. A void against a solder joint is not a cosmetic defect; it is a reservoir that holds moisture against the joint and pumps it in and out with every temperature swing. That is why production potting is done with de-aerated mix and often in more than one shot, letting the first charge settle before the second goes in.
Then come the three costs, and they are real:
Serviceability. Once a run is potted, the potted section is not repairable. A failed pixel inside it means replacing the section, not the pixel. If a project has long, hard-to-reach potted runs, the honest answer is to plan spare sections at commissioning rather than to hope.
Heat. The compound that keeps water out also keeps heat in. On a low-power strip in a drained location that is irrelevant; on a dense addressable strip run at high brightness inside an enclosed profile, the potting layer sits between the LEDs and the aluminium that was supposed to carry the heat away. The aluminium profile choice and the sealing choice are therefore the same decision, and it is worth reading ours on profiles that do not block light before you specify both.
Bend radius. A cured compound is a rigid section. It does not follow the strip around a corner. The potting has to stop where the bend starts, and that transition point needs its own sealing — which is exactly where a lot of "fully potted" failure reports originate.
One point deserves to be stated plainly, because it is where suppliers and buyers most often talk past each other: potting a finished, already-rated strip does not carry the original rating with it. The certificate describes the specimen that was tested. Change the construction, and the sensible position for a buyer to take is that the new assembly is unproven until it has been tested in its new form — which is why a factory that pots to order can describe its process but should not hand you the same certificate for both versions.
Silicone sealing and gel coating: the lighter option
Not every outdoor run needs to be filled. The two lighter constructions cover most of the work, and choosing between them is a question of what you need to keep open.
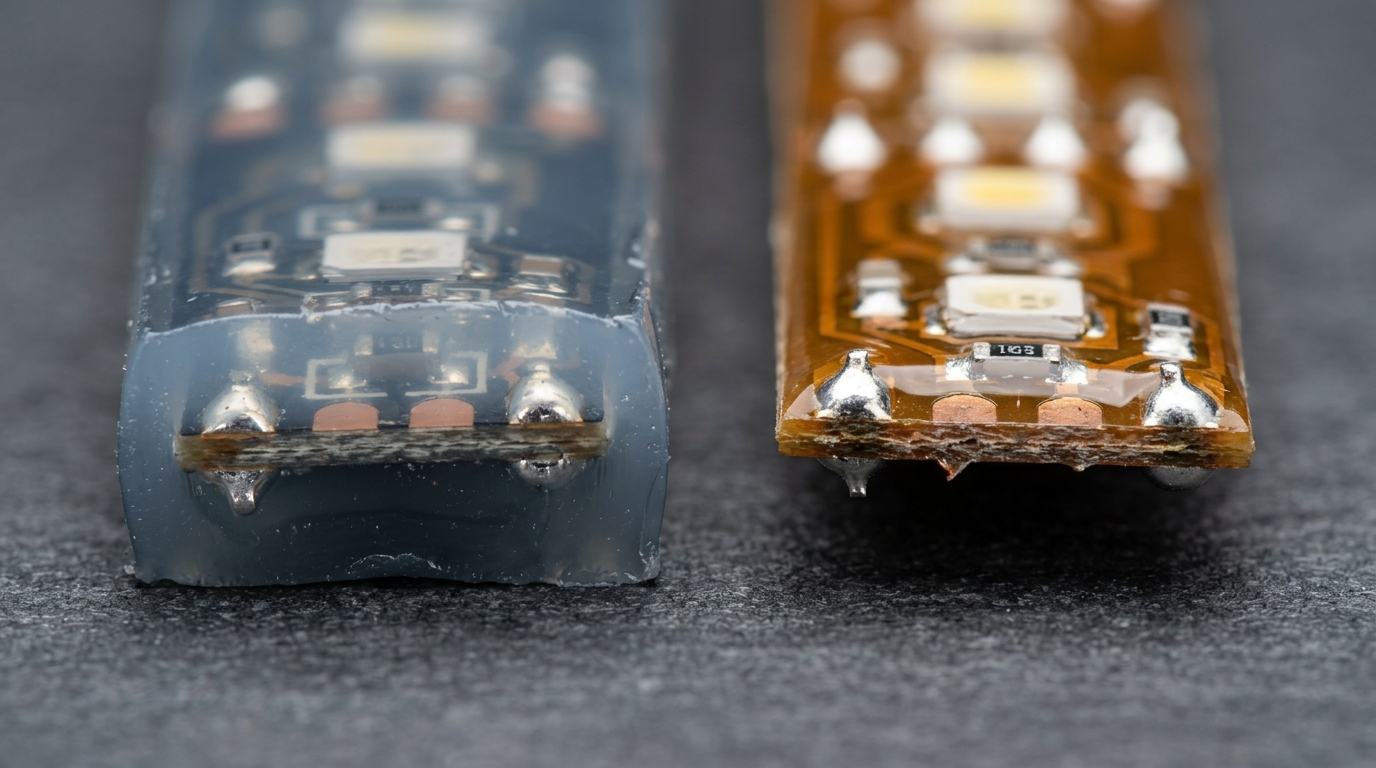
A silicone sleeve or extrusion wraps the strip in a continuous jacket — either a tube the strip is drawn through, or a coating extruded over the board. The board inside stays intact and, in the sleeved version, can sometimes be extracted. Its structural weakness is not the jacket; it is the two open ends and, on long runs, any point where the jacket is cut to take a feed. Seal those correctly and you have an IP65-to-IP67 class strip with a bend radius that a potted strip cannot match. This construction is what our sleeve-waterproof RGB pixel strip is built on.
Gel coating and conformal coating sit at the lightest end. A thin layer over the components protects the electronics from condensation and splash while leaving the board flexible and largely serviceable, and it barely touches the thermal path. What it does not do is protect the board mechanically, and it does not reliably cover the exposed edge of a solder pad or the side wall of a cut. Treat it as protection for the components, not for the assembly.
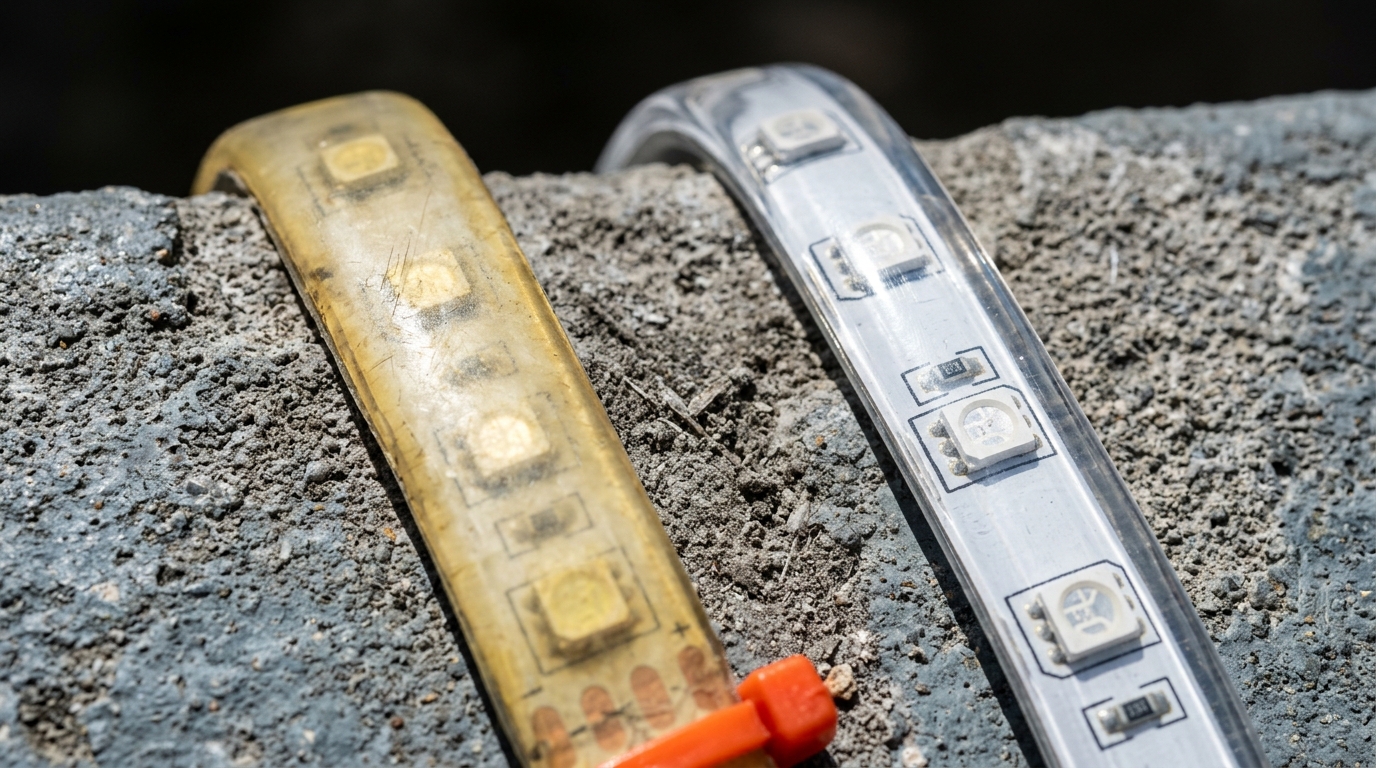
Material ageing is where the lighter option quietly loses. Silicone holds its properties in sunlight far longer than a standard PVC jacket, which has limited UV resistance and can degrade under sustained exposure; where a UV-stabilised PVC or a cross-linked jacket is used instead of silicone, the service life improves but the specification has to say so (silicone vs PVC vs XLPE jacket comparison). On coastal and high-UV sites, "ask for UV-stabilised" is not a nice-to-have — an embrittled jacket cracks at the first flex and takes the seal with it. And a note that applies to every method here: water is not one substance. Chlorinated water, salt spray and freeze-thaw cycles each attack a seal differently, and the grade comparison for those conditions is the territory of the IP67 vs IP68 comparison rather than this page.
Terminating the run: end caps, glands and heat-shrink
The cut end is the sealing surface that gets opened on site, which makes it the highest-value place to get right.
Cut correctly first. Flexible strip is cut only on the marked cut line between pixel groups — cutting elsewhere separates a driver from its LEDs and leaves you with a dead segment, and it also exposes conductor traces where you did not intend to seal anything. Then the termination itself has three credible options:
- Resin end cap or potted end — a cup filled with compound over the strip end. The closest thing to a permanent answer, and the right one for a run that will be immersed. It is also the least serviceable.
- Adhesive-lined heat-shrink — the practical field option. Dual-wall tubing has an outer wall that shrinks and an inner wall that melts and flows, so one application both insulates and seals; the mil-spec tubing written for exactly this job is characterised as sleeving for one-step potting, encapsulating or moisture sealing of electrical components, rated from about −40 °C to 130 °C and tested against saltwater and industrial oils (M23053/4 adhesive-lined heat-shrink). Four things decide whether it works: the joint must be clean and dry before shrinking, heat must be applied evenly around the sleeve rather than from one side, the sleeve must be long enough that adhesive flows past both ends of the splice, and once shrunk it must not be bent. A visible squeeze-out ring of adhesive at each end is the sign that you got it right.
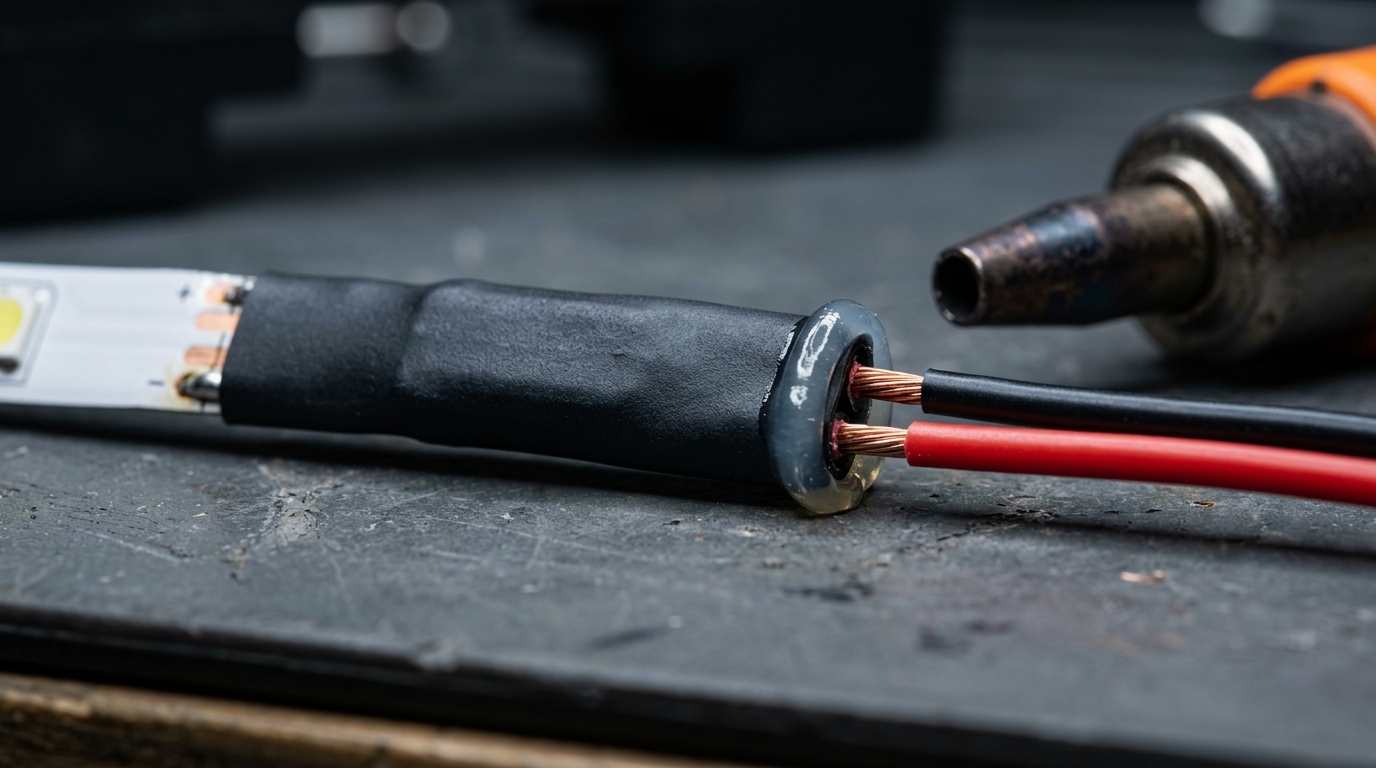
- Factory-terminated lengths — the strip arrives with the end already sealed and a lead already attached. It costs more per metre and removes the variable entirely, which is why it is the correct choice for anything on a maintenance schedule.
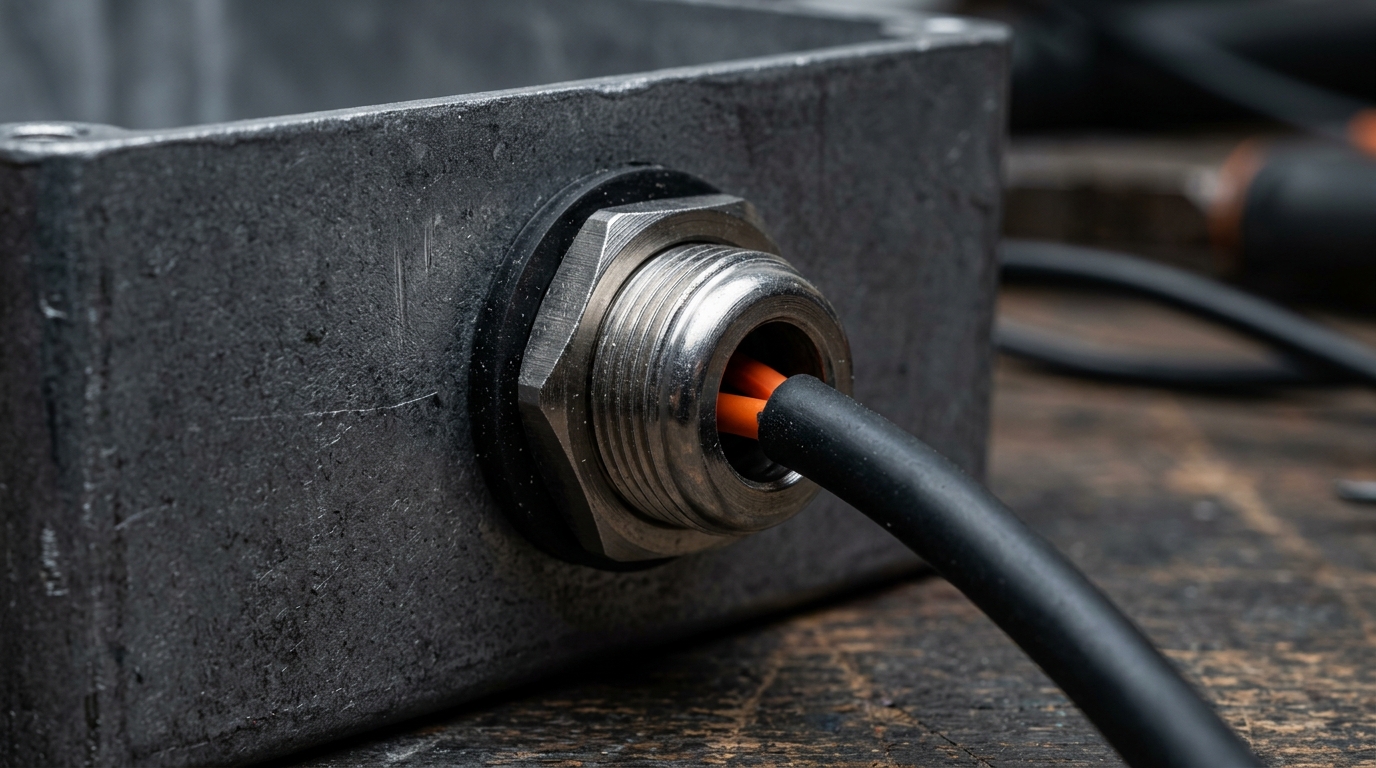
The other half of termination is where the cable leaves the fixture. A cable gland does three jobs at once — it fixes the cable, it seals the entry against the enclosure's rated IP, and it provides strain relief — and glands from established suppliers are certified for ingress protection to EN 60529 and for strain relief to EN 62444 (cable gland technical data). It is also the fitting most often left finger-tight. An open or loose gland defeats the enclosure's rating from above, and on a vertical run without a drip loop it becomes a funnel. Where the environment adds dust, abrasion and wash-down on top of water — an underground gallery, for instance — the entry point is where the specification usually fails first, as our note on what underground lighting has to survive sets out.
Connectors and joints: the weakest link in an IP67 or IP68 run
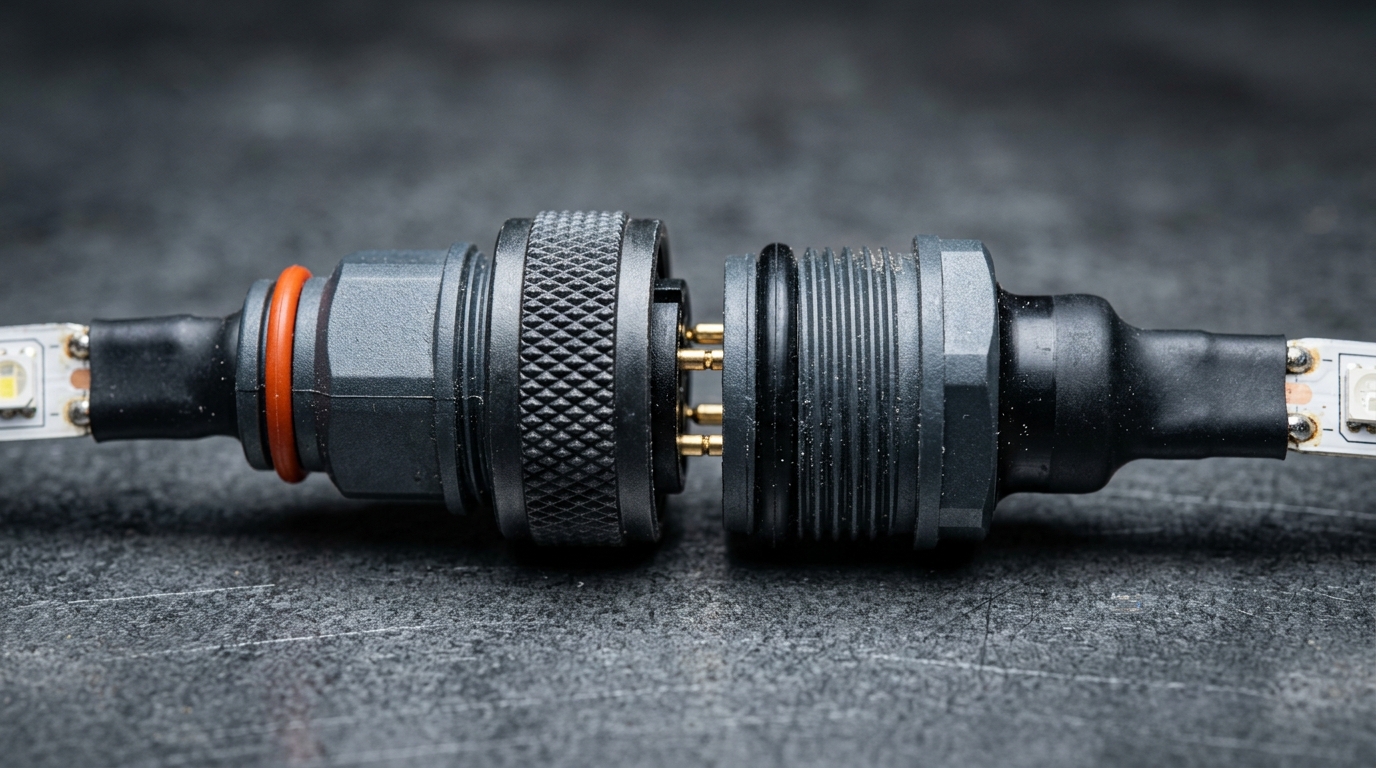
If you take one thing from this page, take this: "waterproof connector" is not a rating. It is a marketing word. A connector either carries a stated ingress protection grade for the mated pair, or it carries nothing you can specify against.
That distinction is the reason outdoor runs fail at the joint and not in the middle. Choose on these dimensions rather than on the word:
- Mated-pair rating. Ask for the IP grade of the connector plugged into its matching half, not of the plug alone. A plug that seals only when mated is not sealed in a box of spare parts or at a half-finished connection on site.
- Poles and pitch. Two-pole connectors are the common case for single-colour runs; addressable and RGBW runs need three to five. Pitch and pin size have to match the strip's pad geometry and the current you are pushing through; a connector rated below the run current is a heat source inside a sealed joint.
- Locking mechanism. A threaded coupling or a positive latch resists vibration and pull. A push-fit relies on the seal to hold position, and it will not survive being walked past on a stage.
- Seal type. An O-ring at the mating face, a compression gland on the cable side, or a pre-filled gel chamber. Each fails differently, and each has a service life.
- Re-mating. This is the part nobody budgets for. A connector is the one part of the run that gets unplugged for diagnostics, and every cycle wears the seal. If a joint will be opened more than a couple of times in its life, treat the connector as a consumable and keep spares.
For a joint you build on site rather than buy as a mated pair, the sealing options are the ones from the previous section scaled up: adhesive-lined heat-shrink over a soldered splice, a resin-filled splice enclosure, or a junction box with its own glands. Seal the connection, not just the strip — and remember that the power side of a long run has its own constraint. Where you have to inject power mid-run, the injection point is a joint, and it has to meet the same standard as the rest. The current, cable gauge and injection-point maths for that are in our voltage-drop calculation walkthrough; what matters here is that the splicing you plan at the design stage is the splicing you have to seal on site.
If you are assembling the other parts of a joint — connectors, profiles, glands and the wiring between them — the pixel LED accessories guide indexes the rest of that family so you are not specifying each item in isolation.
Waterproof LED strip IP rating for outdoor work: which one survives your build
The useful version of the IP65 / IP67 / IP68 question is not which number is higher — it is which number is still true after the method you intend to use. Three judgement calls cover most projects:
- If the run will be opened again — a serviceable profile, a jacket you can slide back, a joint you will re-enter — plan on IP65 or IP66 as the honest ceiling. It is enough for drained, vertical outdoor installations, and it is the grade that survives maintenance. A run that is hosed down but never immersed belongs in this group too: the digit that matters there is the jet — level 5 or 6 — not immersion.
- If the ends can be factory-sealed and the only field operation is a glanded cable entry, IP67 is reachable and is the right target for exposed ground-level, signage and facade work where water arrives and leaves.
- If any part of the run sits in water or is buried, the construction that answers is full encapsulation with factory-sealed ends, plus rated terminations — and the rating you ask for is IP68 with the depth and the duration written down. Without those two numbers the label is a claim rather than a specification. Immersion does not imply jet protection, so a run that is both immersed and hosed down needs both digits specified: levels 5 and 6 and levels 7 and 8 are separate tests.
That ladder, grade by grade, with the test conditions behind each step, lives on the pillar page and in the grade comparison we already publish — IP65 vs IP67 vs IP68. Rebuilding that table here would only put two of our pages in competition with each other.
The product side of the first two cases is straightforward. Where a run needs to be genuinely submersible, the construction to spec is a fully sealed strip with sealed ends — the role our IP68 addressable RGBW strip is built for, supplied across the IP20 to IP68 range so the end treatment and the connector grade are specified with the strip rather than improvised around it.
What to ask a supplier before you order
The last mile of a waterproofing spec is procurement, and these are the questions that separate a specification from a sentence in a catalogue. Ask them in writing, and ask them before the PO, not after the first failure.
- Which assembly was tested? The rating should name the strip with the end treatment and the connector type that will actually ship.
- Under which standard, and can we see the report? Ingress protection testing is to IEC 60529; a certificate number without a scope statement proves little.
- For IP68, what are the declared depth and duration, word for word? The standard requires the manufacturer to specify them, and two IP68 parts can be different products.
- How do the ends ship? Sealed, or with bare tails for field termination? If bare, what is the supplier's approved sealing method?
- What is the warranty position on a joint sealed on site? Most warranties stop at the factory termination. Know where the line is drawn.
- What is the mated-pair rating of the connector? If the answer names a plug rather than a pair, keep asking.
- How is batch consistency controlled? Sealing is a process; ask about in-line inspection and the sampling behind it.
- What supplementary testing exists for your site? Salt spray, low-temperature bending and UV exposure are separate tests from the IP suite, and coastal, cold and high-altitude projects need them named.
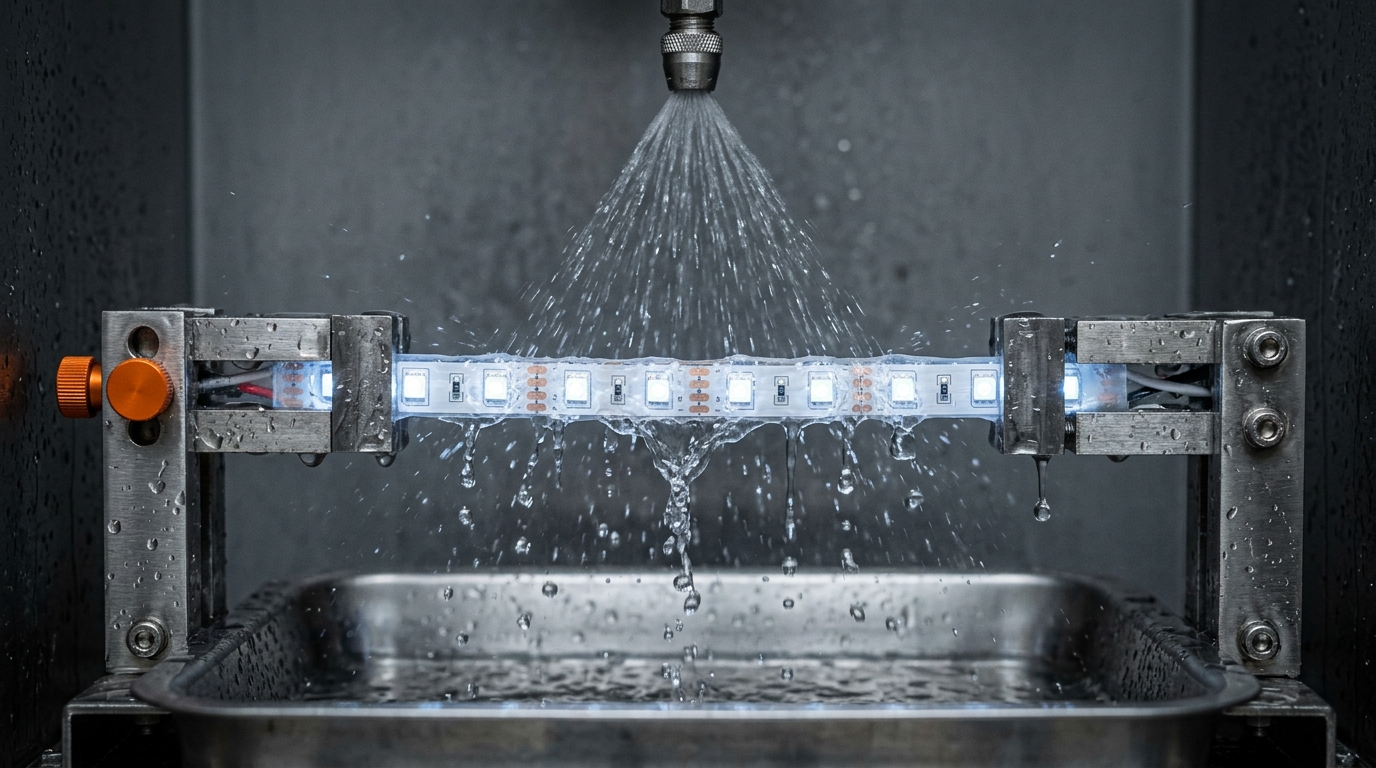
Our own answers, for comparison: we run six QC checkpoints with the sealing and ingress test as its own station, and we hold ingress protection certification to EN 60529:2013 for our IP66 construction (certificate JAT24101202622IC-1), alongside CE, RoHS and EMC certificates with the numbers published. If you are working through any of the eight questions above on a live project, send the run conditions — length, location, water exposure, voltage and control — and you will get a construction recommendation and the test evidence behind it rather than a catalogue page.
FAQ: waterproofing an LED strip run
How can I make LED strip lights waterproof?
You cannot make a bare strip waterproof after the fact; you can only protect the assembly. That means one of three routes: a silicone sleeve or extrusion over the board, a conformal coating over the components, or full encapsulation in potting compound. Whichever you choose, the ends, joints and cable entries need their own sealing — the strip itself is rarely the leak.
Can you cut the end off an LED strip?
Yes, but only on a marked cut line, and only if you re-seal what you cut. An unsealed cut end puts bare conductors in the weather and drops that section's protection to roughly indoor level. Re-seal with an adhesive-lined heat-shrink sleeve, a resin end cap, or by ordering factory-terminated lengths.
Can I put LED strip lights in epoxy, and if so how?
You can encapsulate a strip in a two-part compound, and for permanently wet locations it is the right answer. Two-part it must be — one-part glues and sealants are not encapsulation systems. Mix to the stated ratio, de-aerate or pour in stages to avoid trapped air, and cure fully before the part is handled. Accept the trade: the section becomes rigid, unrepairable, and harder to cool.
Is IP65 good enough for outdoor use?
For drained, vertical installations — facades, signage, rooflines, wall-washing — yes, provided the joints and cable entries are sealed and the jacket is UV-stable. It is not enough where water can pool on or around the fixture for extended periods, and it says nothing about pressure washing.
What are the best connectors for a waterproof LED strip run?
The one whose ingress protection is stated for the mated pair at or above the grade of the rest of the run, that locks mechanically, that matches your pole count and current, and that can be re-opened for service without destroying its seal. A connector labelled "waterproof" with no mated rating does not belong in a specification.
Can waterproof LED strips be used outdoors?
Yes, and they are the standard answer for exterior pixel work — facade runs, stage exteriors, signage, and mine or tunnel installations. What determines whether the installation stays dry is not the strip's label but the construction of the whole run: sealed ends, rated joints, glanded entries, and a driver enclosure rated for the same location.
One caution that applies across all of it: IP ratings describe protection of the equipment, not suitability for immersion where people are in the water. Keep lighting out of water bodies that people enter, and treat any submerged installation as an electrical design problem with its own rules.
Specifying pixel LED for a real project?
Send the spec — pitch, IC, IP class, run length, voltage — and you get an engineer's answer, not a catalogue. Samples and OEM/ODM quotes from the Shenzhen factory floor.